In this quick article, we will learn how to build a browser extension to manipulate some website behavior for your personal use.
What is a Browser Extension? 🔗
A browser extension is essentially a small software program that adds custom functionality to your web browser. Extensions can help you take notes, manage passwords, block ads, and more.
They can be installed in most modern browsers like Chrome, Firefox, Edge, etc. Often, an extension can be downloaded and installed from a web store, like the Chrome Web Store.
While extensions can provide useful functionality, they also pose security risks since they execute JavaScript on your browser. Therefore, it’s a good practice to only install extensions from reputable sources, as recommended by most web browsers.
Building Our Own Extension 🔗
While downloading unknown code can be risky, building your own extension for small utilities is actually very simple!
In this demonstration, I’ll show you how to build an extension I created that hides the comments section on YouTube.
Hiding YouTube Comments 🔗
For our demonstration, we will use YouTube. When you visit YouTube, the site delivers HTML, CSS, and JavaScript to your browser to display and interact with content.
Our extension will inject custom JavaScript to hide the entire comment section on YouTube. While the code works on all major web browsers, we will use Firefox for this demonstration.
Creating the Extension 🔗
To create a web extension, you need two files:
manifest.jsoncontent.js
The content.js file contains the code that will run in the browser, while manifest.json is the configuration file that defines the extension’s settings, permissions, name, and description. You can think of manifest.json as similar to a package.json in a Node.js project.
Here is the code for our extension. You can also find all the demo code for this exercise at this GitHub repository.
// Hide the comments section
const hideComments = () => {
  const commentsSection = document.getElementById('comments');
  if (commentsSection) {
    commentsSection.style.display = 'none';
  }
};

document.addEventListener('DOMContentLoaded', hideComments);

const observer = new MutationObserver(hideComments);
observer.observe(document.body, { childList: true, subtree: true });
Let’s break down the content.js script:
-
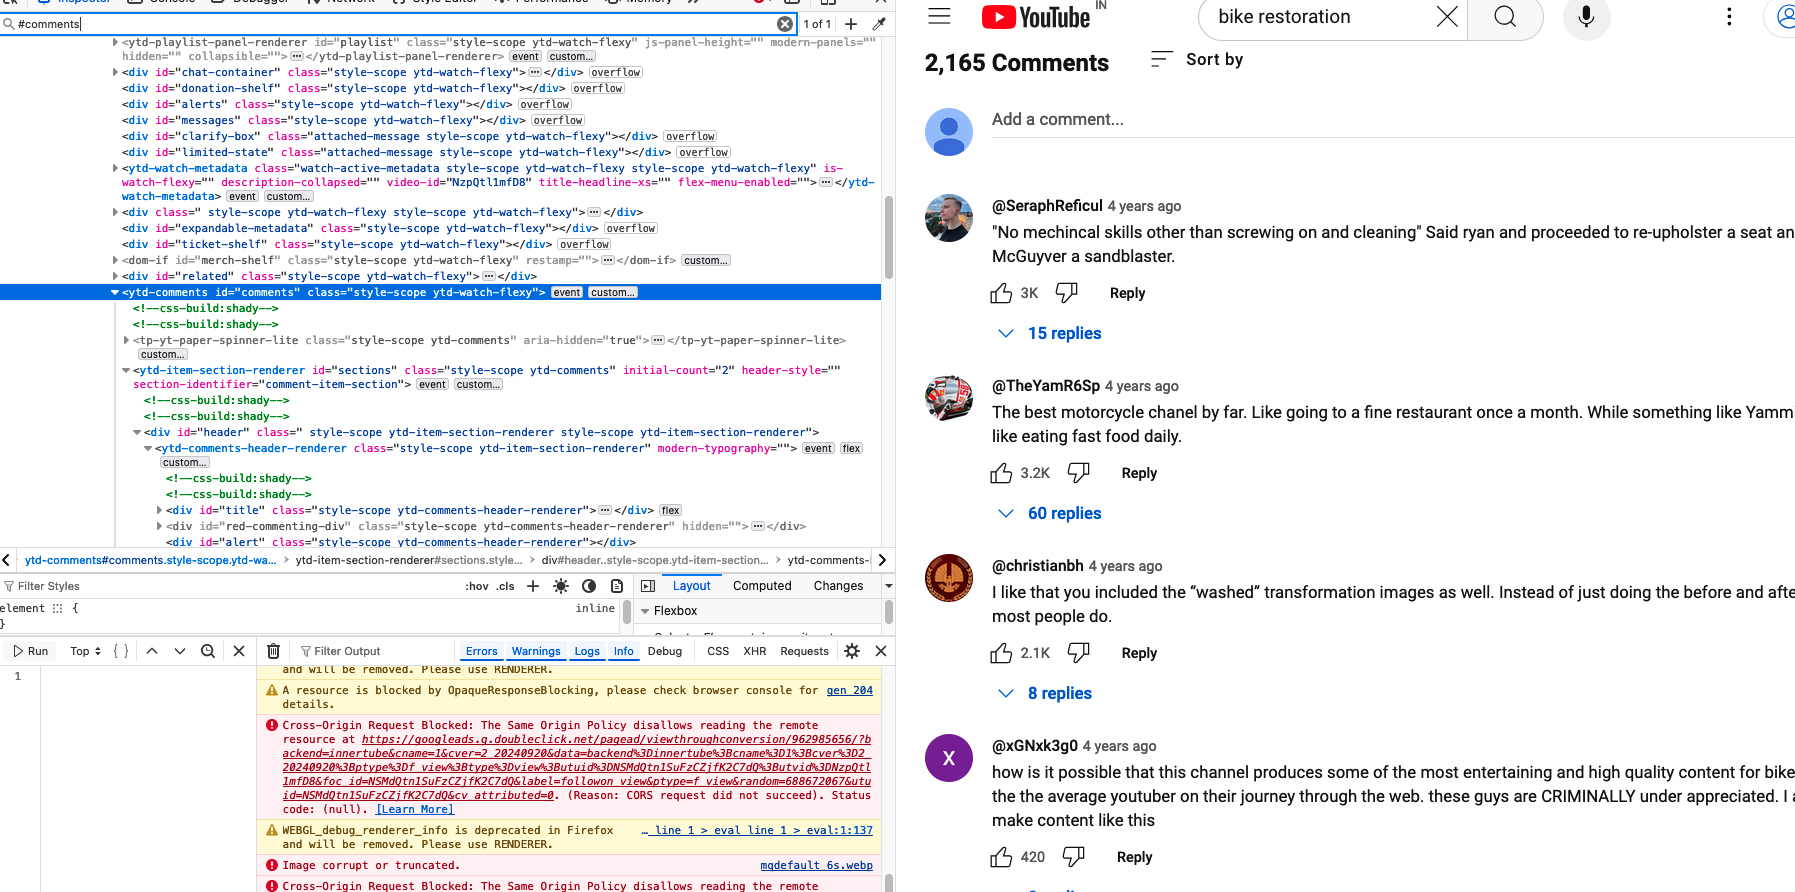
hideCommentsFunction: This function selects the element with the IDcommentsand sets its display style tonone, effectively hiding the comments section on YouTube. You can verify this by inspecting the YouTube page, where the comments section is wrapped in adivwith the IDcomments.
-
MutationObserver: TheMutationObserverinterface allows you to watch for changes in the DOM (Document Object Model). We use this to ensure that if the DOM changes (e.g., YouTube loads comments dynamically), thehideCommentsfunction will be called to hide the comment section again.-
hideCommentsas a Callback: This function is passed as a callback, which will be executed when mutations (like adding or removing child elements) are detected in thedocument.body. -
observer.observe: This starts the observer, monitoring the entire body of the HTML page for changes. The options{ childList: true, subtree: true }tell the observer to:childList: true: Listen for direct changes in the list of child elements withindocument.body.subtree: true: Listen for changes throughout the entire DOM tree, not just immediate children.
-
Now, let’s take a look at the manifest.json file.
{
  "manifest_version": 3,
  "name": "YouTube Comments Hider",
  "version": "1.0",
  "description": "Hides comments section on YouTube.",
  "content_scripts": [
    {
      "matches": ["*://www.youtube.com/*"],
      "js": ["content.js"]
    }
  ],
  "permissions": ["activeTab"]
}
Lets discuss “manifest.json” now.
manifest_version: Specifies the version of the manifest format (in this case, version 3).name: The name of the extension, which will appear in the browser’s extension manager.version: The version of the extension. Here, it is set to “1.0”.description: A brief description of what the extension does.content_scripts: Defines which scripts will be injected into web pages. Here, the scriptcontent.jswill be injected into any page on YouTube.matches: Specifies the URLs where the content script should be injected. The"*://www.youtube.com/*"pattern means the script will run on all YouTube pages (both HTTP and HTTPS).js: Lists the JavaScript file(s) to inject.
permissions: The"activeTab"permission allows the extension to access the content of the active tab temporarily.
Loading the Extension in Firefox 🔗
To load this extension into Firefox, follow these steps:
-
Open Firefox and go to the about:debugging page by typing
about:debugginginto the address bar. -
Click on “This Firefox” from the left-hand menu.
-
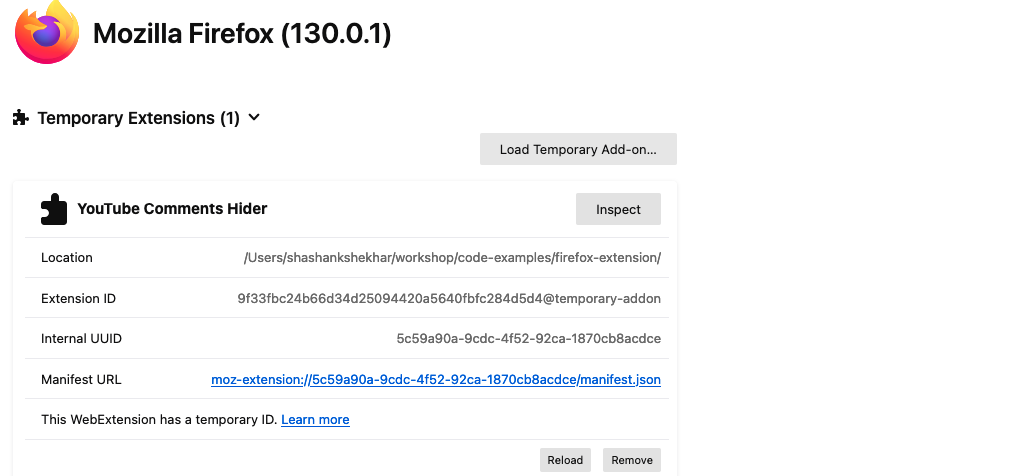
Click “Load Temporary Add-on”.
-
Select any file in your extension’s directory (e.g.,
manifest.json). Firefox will automatically detect and load the entire extension.
The extension will now be installed temporarily. It will remain installed until you restart Firefox.
Testing the Extension 🔗
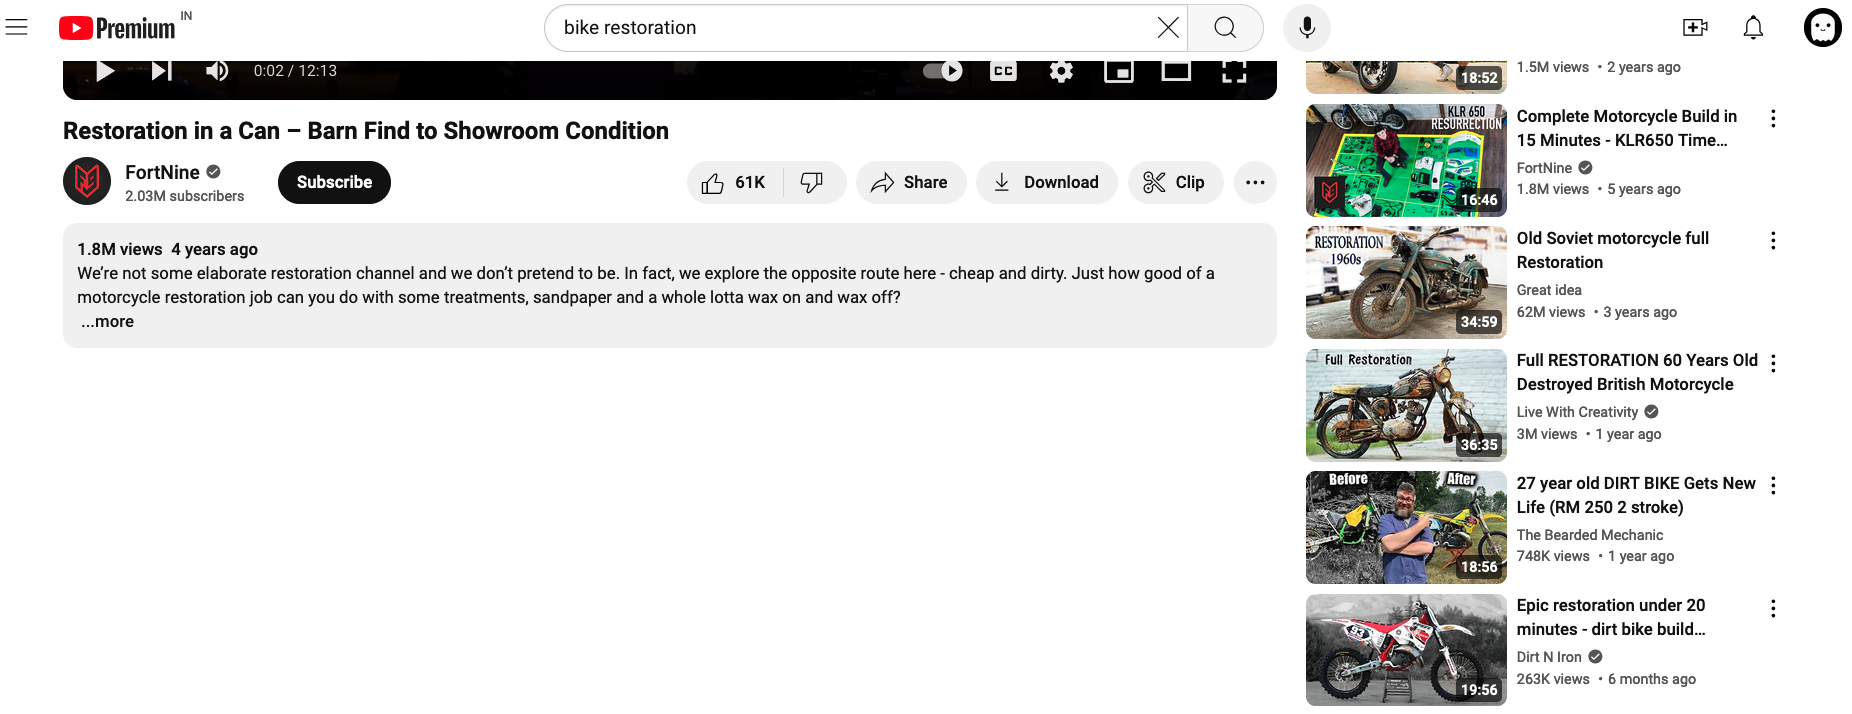
Once installed, go to YouTube, open any video, and navigate to the comments section to see the effects of the extension.

Conclusion 🔗
I hope this helps you understand how browser extensions work and how you can create your own. Stay tuned for more posts in the coming weeks. Happy coding! !